Last updated November 21, 2026
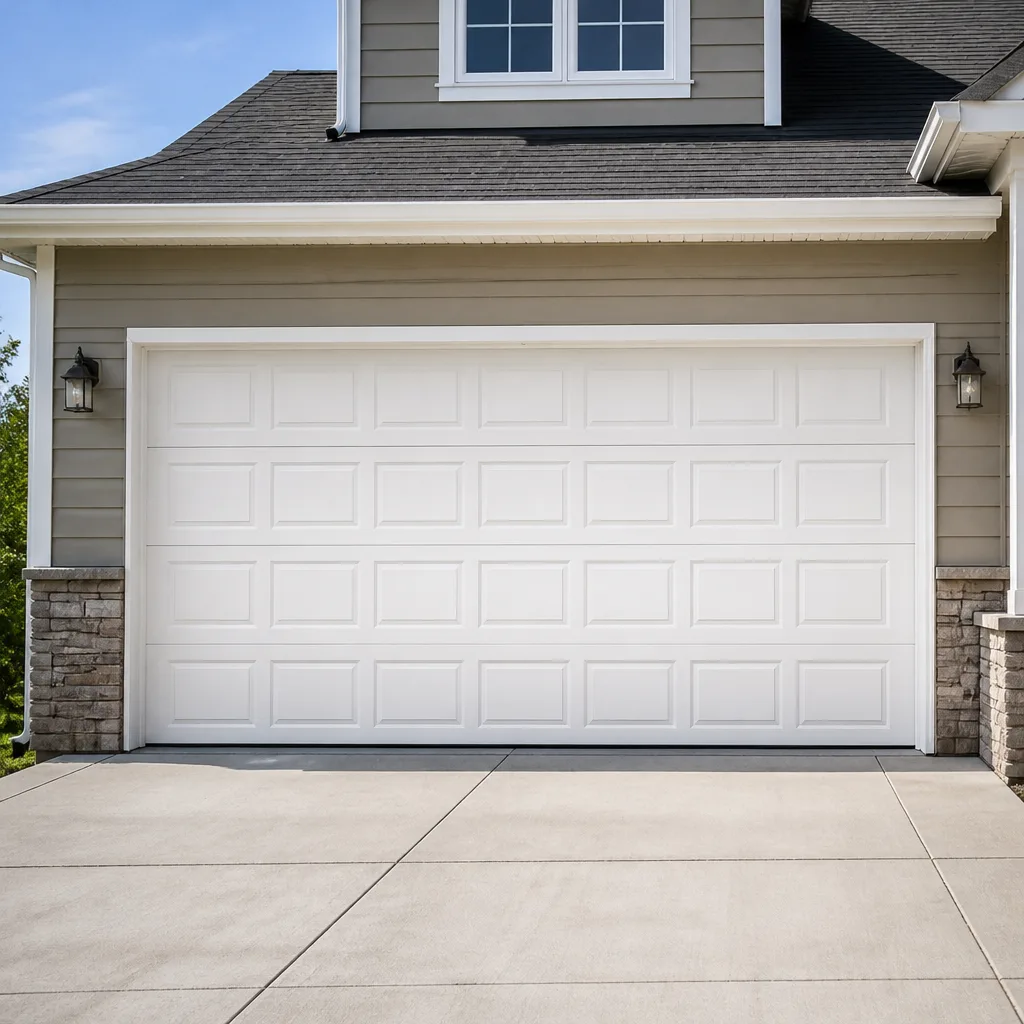 Raised-panel steel
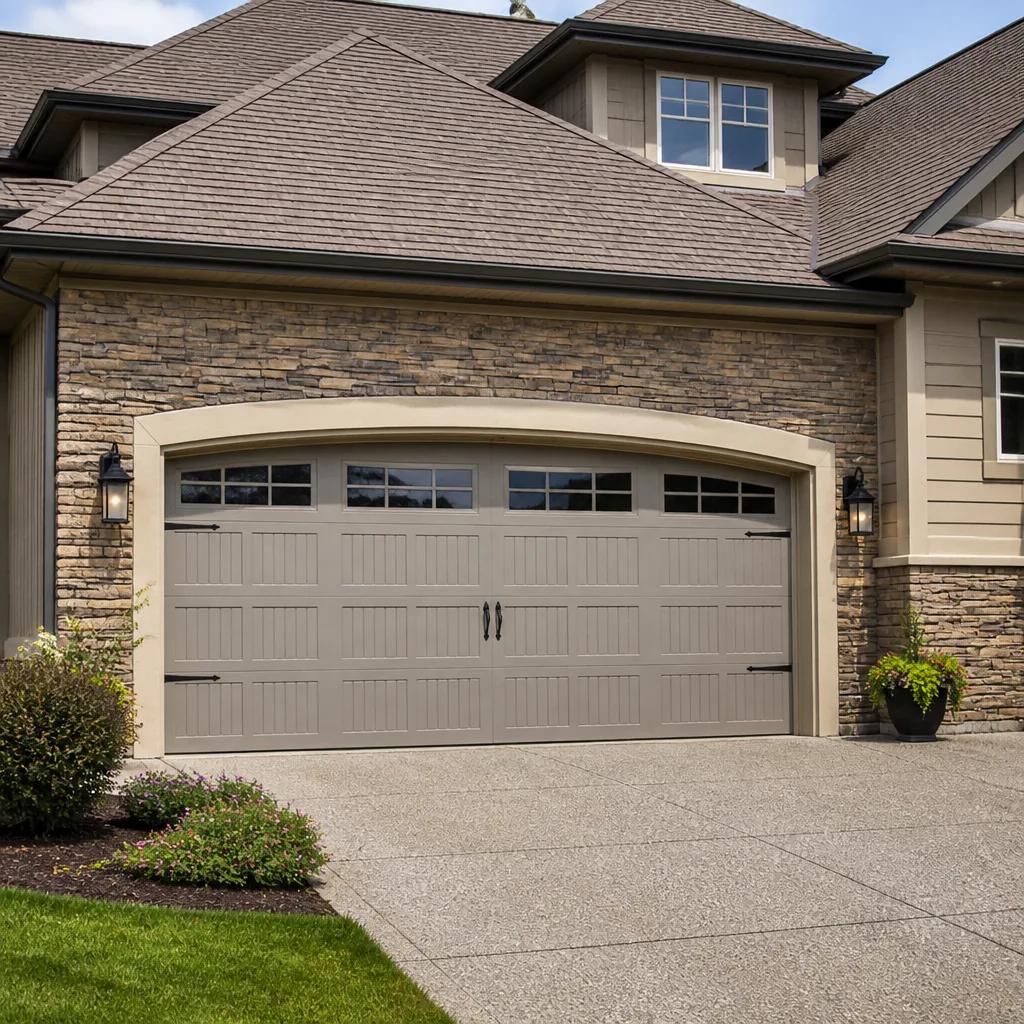
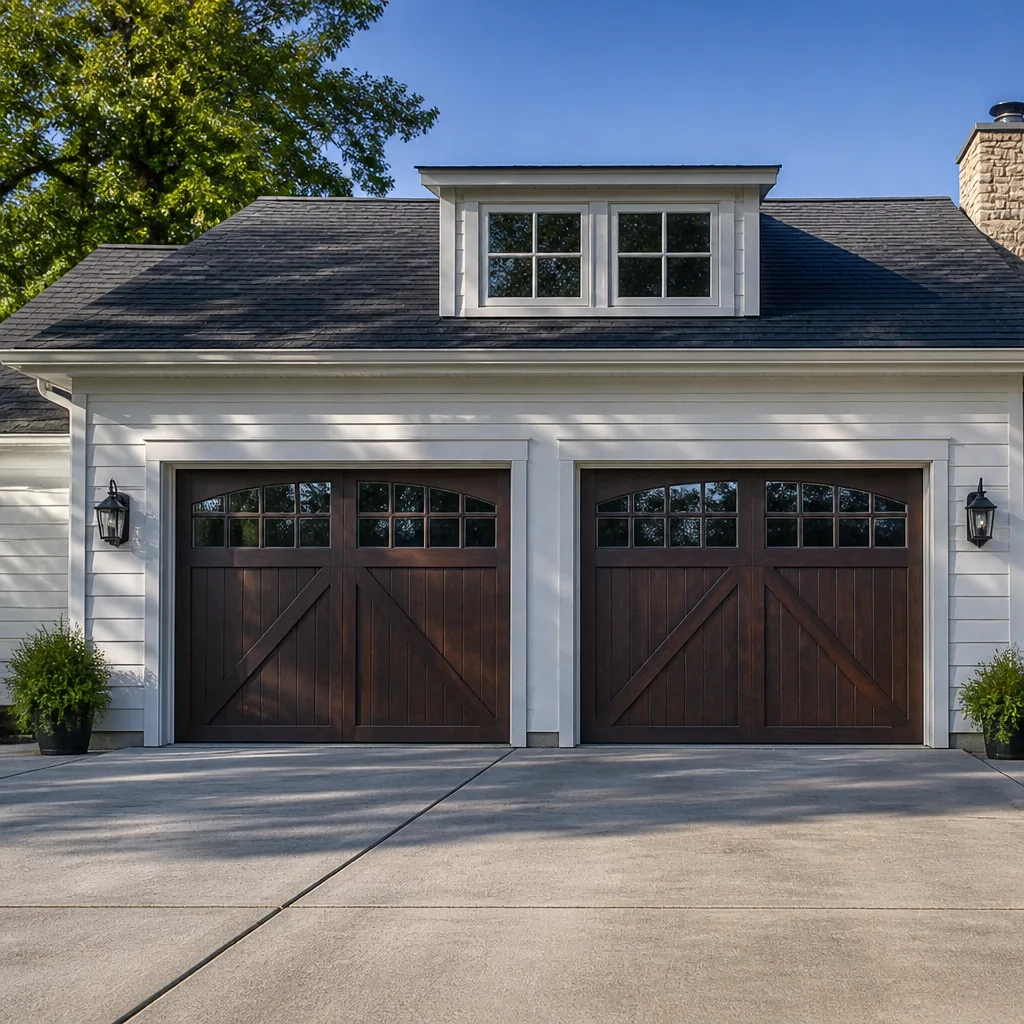 Carriage house
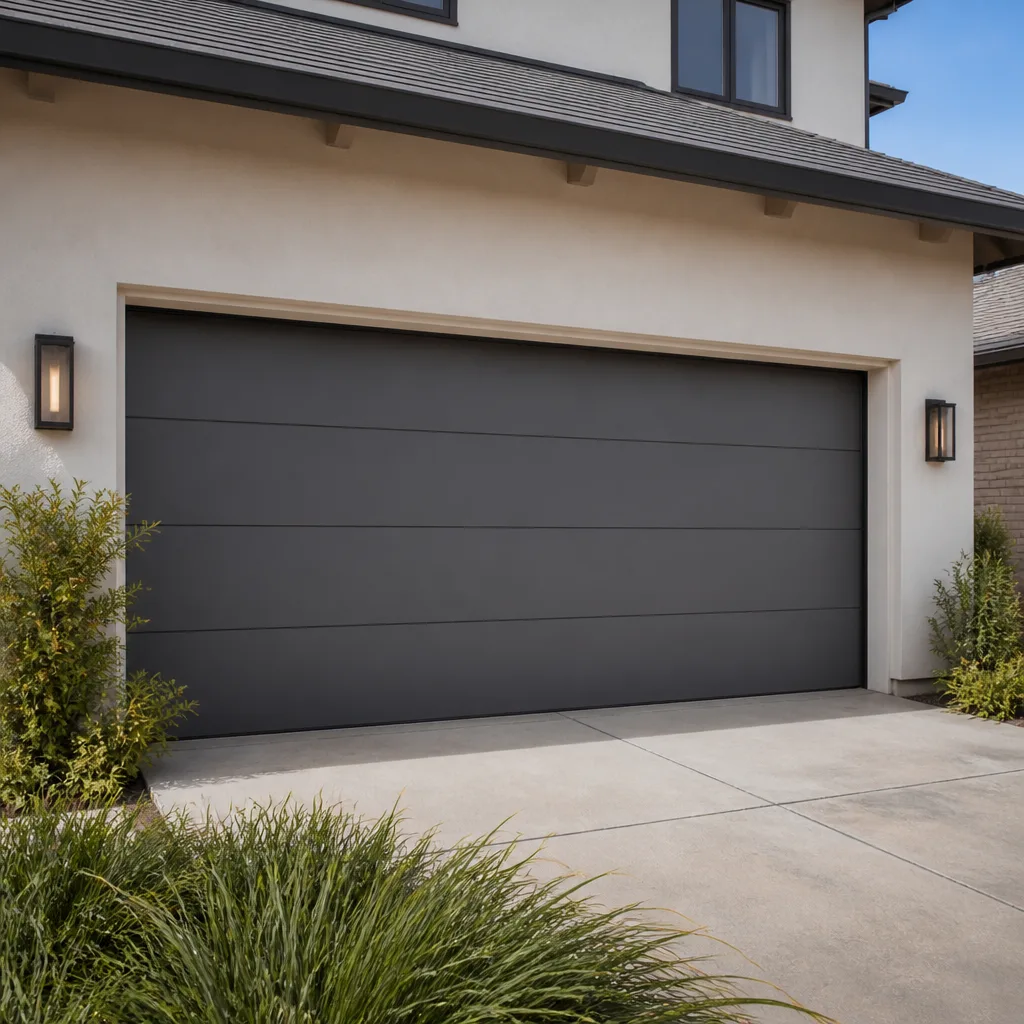 Modern flush
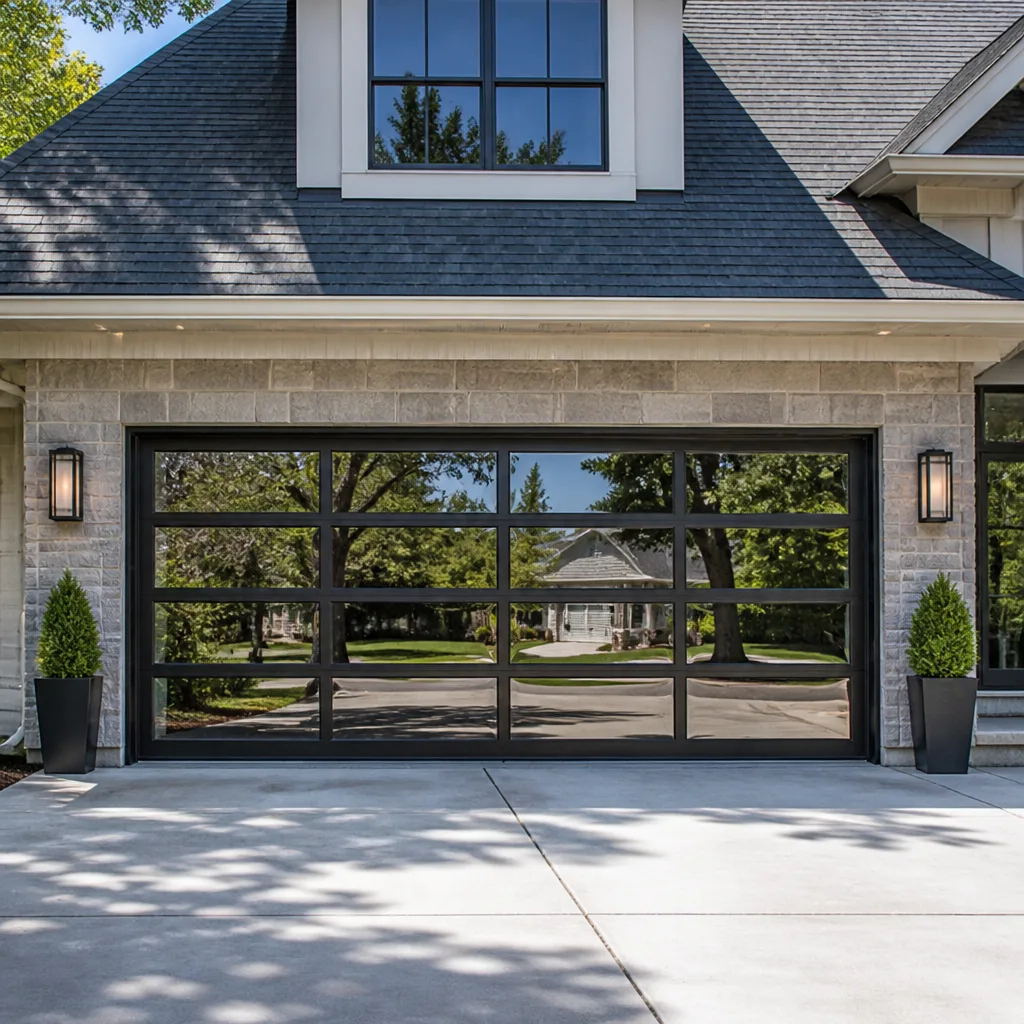 Full-view glass
 LiftMaster openers
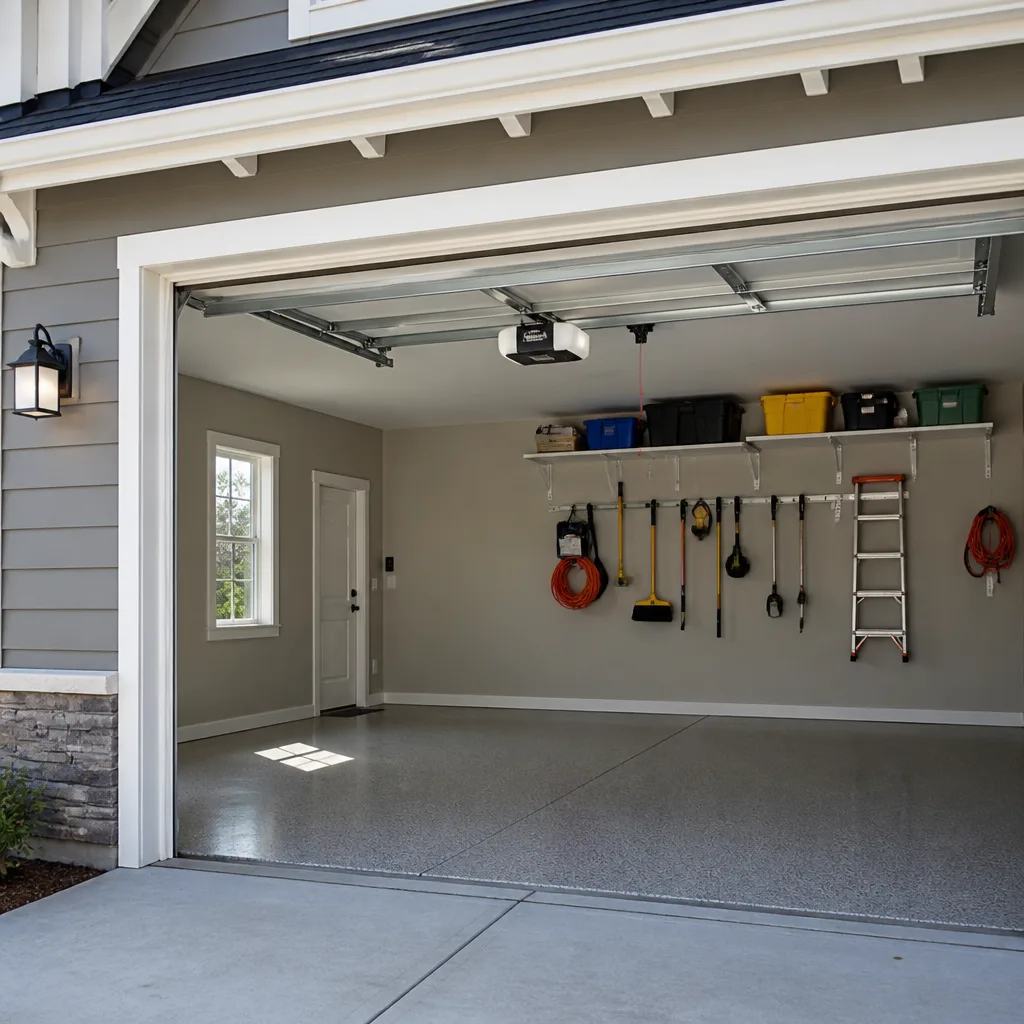 Chamberlain openers
Full 25-point door and opener safety check with every visit - springs, cables, rollers, tracks, and your LiftMaster or Chamberlain opener included
You get a price before we start. It does not change when the pro arrives.
Get your free estimateDIY vs Professional Garage Door: The Arlington Homeowner’s Decision Guide
Most garage door advice splits the world in two: “never touch it” or “watch a video and save money.” Both are wrong. The real line runs through individual components, not through the whole door. Replacing a bottom seal is a genuinely reasonable afternoon project. Winding a torsion spring is how people end up in the emergency room. A wound torsion spring stores roughly 100 ft-lbs of torque, and a miscalculation during DIY winding can send a steel winding bar into your face at the speed of a baseball pitch. That’s the actual mechanic behind most garage door DIY injuries, and it isn’t exaggerated. This guide breaks the door down part by part so you can see exactly what’s safe in Arlington, what isn’t, and what a mistake really costs.
Quick Answer
Weatherstripping, bottom seals, lubrication, and minor track adjustments are safe for most Arlington homeowners to handle themselves. Torsion springs, extension springs, cable drums, and opener circuit boards are not – those require a trained technician. A DIY spring job also typically voids the spring warranty and your opener warranty, and a door replaced without the required wind-load compliance can leave you with an uninsured liability if it fails in a storm.
Styles & brands we work with
- Raised-panel steel
- Carriage house
- Modern flush
- Full-view glass
- LiftMaster openers
- Chamberlain openers
Table of Contents
- Component-by-Component: What’s Safe and What Isn’t
- The Monthly Test Every Arlington Homeowner Should Run
- DIY vs Professional: What the Numbers Actually Look Like
- How DIY Work Affects Your Door and Opener Warranty
- Florida Wind-Load Rules and Why DIY Replacement Is Risky
- Opener Repairs: Why Electronics Are a Different Skill Set
- How to Decide in Five Minutes
Component-by-Component: What’s Safe and What Isn’t
The garage door isn’t one machine. It’s a stack of systems that fail in different ways and carry very different risk. A bottom seal is rubber. A torsion spring is stored energy. Treating them the same is where homeowners get hurt. Here’s how we break it down for Arlington homeowners, component by component.
Genuinely safe to do yourself
- Weatherstripping around the frame: Nail-on or adhesive seals that stop drafts and rain intrusion. Low cost, no stored energy, no chance of the door coming down on you.
- Bottom seal (astragal): The rubber strip along the bottom edge. It usually slides or pulls out of the retainer and a new one slides back in. You may need to loosen the bottom brackets slightly – that’s fine as long as you don’t touch the cables.
- Lubrication: A garage-door-specific lubricant on hinges, rollers, and the torsion shaft (not the spring coils) quiets a noisy door and extends roller life. This is the single most neglected maintenance item we see in Arlington homes.
- Minor track realignment: If a track has shifted a quarter inch and the door binds lightly, gently tapping it back with a rubber mallet can work – only if the door is fully down and the springs aren’t under tension.
- Photo-eye cleaning and alignment: Dust and spider webs on the safety sensors at the bottom of the tracks cause a surprising number of “my door won’t close” calls. Wipe the lenses, check the indicator lights, and nudge the brackets straight.
Do not touch these yourself
- Torsion springs: The spring above the door, mounted on a shaft. Winding it requires two proper winding bars and an understanding of how many turns the door needs. Get it wrong and the bar releases.
- Extension springs: The springs that run along the horizontal tracks on each side. They’re less complex but still store serious energy and need a safety cable running through them.
- Cable drums and cables: Cables are under tension whenever the door is up. Loosening one without first releasing spring tension can slice through a hand.
- Opener circuit boards and logic boards: Low voltage but easy to short. On a LiftMaster or Chamberlain unit, a bad board swap can brick a perfectly good opener.
- Bottom brackets: The bracket at each corner holds the cable. Never loosen this while the door is under spring tension.
If you remember one thing from this guide: any component that holds the door’s weight or stores energy is a technician job. Any component that just keeps weather out is fair game.
The Monthly Test Every Arlington Homeowner Should Run
The one piece of garage door maintenance you should absolutely do yourself is the auto-reverse safety test. It takes about two minutes, requires no tools, and it’s the test that tells you whether your door would stop if a child or pet were underneath it. UL 325 – the standard that governs garage door operators – sets out the criteria, and the test is simple to run.
Step-by-step: the auto-reverse test
- Fully open the door, then close it using the wall control. Confirm the door reaches the floor and stays down.
- Place a solid object about 1.5 inches tall directly in the center of the doorway – a 2×4 laid flat works well.
- Press the wall control to close the door again.
- Watch what happens when the door contacts the object. The door should reverse and travel back to the fully open position.
- If the door stops but doesn’t reverse, or keeps pushing down on the object, the force setting is too high.
Pass criteria: The door reverses within about two seconds of contacting the object and returns fully open. Fail criteria: The door stalls, keeps pressing down, or reverses only after a delay. A failed test usually means the opener’s force limits need adjusting – and on older Genie and Craftsman units, it can mean a failing logic board.
Test the photo-eye system too
While you’re at it, close the door and wave your foot in front of the photo-eye sensors at the bottom of each track. The door should reverse immediately. If it doesn’t, clean the lenses first. If it still doesn’t, the sensor or wiring is the problem. Run both tests once a month in Arlington. It’s the cheapest safety insurance you’ll ever buy, and it takes less time than checking your mailbox.
DIY vs Professional: What the Numbers Actually Look Like
Here’s the honest accounting. Some DIY jobs genuinely save money. Others look like savings until you add up the secondary costs. The gap depends almost entirely on which component you’re touching and what happens if it fails.
Bottom seal replacement
A replacement bottom seal costs roughly $40 in parts at a hardware store. A service call to have it done typically runs $120 or so. If you’re comfortable sliding out a rubber strip and choosing the right width, that’s a genuine $80 saved and a fifteen-minute job. This is a DIY-friendly task in any Arlington home.
Torsion spring replacement
DIY spring kits run significantly cheaper than a professional spring repair, and the savings look attractive until you weigh what a spring failure actually risks. If a spring lets go while you’re winding or shortly after, the door can come down unevenly, cables can slip off drums, and the whole door can twist. Secondary damage from a failed spring run can easily reach several hundred to a couple thousand dollars in bent tracks, damaged panels, and opener strain. Add in the injury risk, and the math stops working in DIY’s favor.
Opener repair
A DIY opener board replacement saves the labor portion of the bill, but only if you buy the right board the first time. Universal boards frequently don’t talk to a Chamberlain or LiftMaster unit’s original wall control, and you end up replacing a second part you didn’t need. Brand-specific diagnosis matters here more than anywhere else.
- Bottom seal: $40 parts vs. roughly $120 service call – DIY saves real money.
- Lubrication: $10-15 can of door lube – pure DIY win.
- Weatherstripping: $25-60 in materials – DIY is reasonable.
- Spring repair: Professional job, one spring is typically in the low hundreds, a matched pair roughly double – not a DIY candidate.
- Opener repair: Professional – the diagnostic step is most of the value.
Whatever route you take, the important thing on any professional job is that the price is quoted and agreed before work begins. A written estimate sets the final number. Call (866) 937-7921 for a free estimate on anything above the DIY tier.
How DIY Work Affects Your Door and Opener Warranty
This is where DIY gets expensive in a way the receipt doesn’t show. Manufacturers design warranties around professional installation and repair. When a homeowner replaces a spring or opens up an opener themselves, that protection usually disappears.
Spring warranty impact
Replacing a torsion or extension spring yourself typically voids the spring manufacturer’s warranty. That means if the new spring fails early – and cheap springs do – you’re on the hook for the replacement and any secondary damage. Professional spring work keeps the warranty intact and puts the responsibility on the installer if something goes wrong.
Opener warranty impact
On LiftMaster and Chamberlain units, DIY spring replacement has a knock-on effect that surprises people. A badly wound spring makes the door heavy, which puts extra load on the opener’s motor and gear assembly. If you then file a warranty claim on that opener, the manufacturer can point to the DIY spring work as the cause of failure and decline the claim. The same logic applies to Genie openers. The spring and the opener are one system, and the warranty treats them that way.
- DIY spring work typically voids the spring warranty outright.
- It can void the opener warranty if the manufacturer ties the failure to improper spring tension.
- DIY opener board swaps and motor replacements typically void the opener warranty.
- DIY weatherstripping and seals – no warranty concern at all.
Before you take on a spring, price out what a void warranty on a $400 opener actually costs you. Suddenly the professional spring repair looks less expensive.
Florida Wind-Load Rules and Why DIY Replacement Is Risky
Arlington sits in a part of Florida where wind events are a real consideration, and that changes what “doing it yourself” means for a full door replacement. A new door installed without the required wind-load rating for your area can create a liability problem that no amount of saving on labor offsets.
What wind-load compliance actually involves
Doors installed in Arlington need to meet wind-load standards for the area, which typically means a specific pressure rating, reinforced hardware, and in many cases heavier-duty hinges, brackets, and tracks than a standard-weight door ships with. Getting this right depends on the door you buy, the reinforcement you add, and the way it’s anchored to the framing.
Why DIY replacement creates risk
If you install a door without the correct wind-load rating and it fails in a storm, your homeowner’s insurance can treat that as an uninsured liability – because the door wasn’t installed to code. That’s a serious exposure. It can also complicate any future sale of the home, since an inspector will look for the permit and compliance documentation on a door replacement.
- Most cities require a permit for a garage door replacement – check with Arlington’s building department before you buy anything.
- The door must carry the correct wind-load rating for the area; a standard-rated door may not qualify.
- Reinforcement hardware matters as much as the door itself.
- A failed door from improper installation can become an uninsured liability claim.
This is one of the clearest places where the professional line holds. A replacement isn’t a maintenance task; it’s a building compliance task. garage door installation done right means the door, the reinforcement, and the permit documentation all line up. If you’re replacing a door in Arlington, get a professional measure and a written price before you commit to a model.
Opener Repairs: Why Electronics Are a Different Skill Set
Opener repair is where even confident DIYers tend to misstep. The motor and mechanical parts are simple. The electronics and the logic board are not, and they’re brand-specific in ways that aren’t obvious until you’re two parts deep and still stuck.
We work on the brands that actually turn up in Arlington garages – LiftMaster, Chamberlain, Genie, Craftsman, and others. Each brand’s boards, wall controls, and safety sensors behave differently. A Chamberlain logic board swap done with the wrong replacement can leave the wall control dead. A Genie unit can throw false obstruction errors from a failing sensor rather than a board fault, and the two look identical to a homeowner. Without a diagnostic step, you can spend $80 on a part you didn’t need and still not have a working door.
- Brand-specific diagnosis: recognizing whether the fault is the board, the sensor, the wall control, or the safety reverse adjustment.
- Parts matching: getting the correct board revision for the model rather than a “fits most” universal.
- Repair-first approach: fixing the actual fault instead of replacing a working opener to save diagnostic time.
In our experience, most opener problems that look like “the motor is dead” are actually a sensor, a wall control, or a power issue. garage door opener repair for the right brand, with the right board, is faster and cheaper than a full-unit replacement. That’s the honest recommendation: diagnose, then fix.
How to Decide in Five Minutes
Before you pick up a tool, run through this decision sequence. It sorts almost every job into DIY or professional in under five minutes.
- Is the component holding weight or storing energy? Springs, cables, drums, bottom brackets – professional, no exceptions.
- Does it need a permit? A full door replacement in Arlington needs compliance documentation – professional.
- Is it a rubber, seal, or lubrication job? DIY is fine.
- Is it electrical or a circuit board? Professional, because brand-specific diagnosis saves parts money.
- Would a failure damage anything else? If a bad install could rack the door or bend tracks, professional.
- Would DIY void a warranty you want to keep? Professional.
If you land on professional for any step, a written estimate should come before anyone touches the door. You should know the price before the work starts, not after. That’s true for a bottom seal you could have done yourself and for a matched pair of torsion springs.
Common Mistakes to Avoid
- Winding a torsion spring without proper winding bars. Screwdrivers and improvised bars are how DIY spring jobs go wrong. The bar can spin out under load and strike you in a fraction of a second.
- Replacing a door without checking wind-load compliance. In Arlington, a storm-rated installation needs the right door and the right reinforcement. Skipping it can turn a door failure into an uninsured liability.
- Buying a universal opener board to save a few dollars. On Chamberlain and LiftMaster units, a generic board can leave the original wall control dead. Brand-specific parts cost more up front and less overall.
- Lubricating the spring coils themselves. Door lube belongs on hinges, rollers, and the torsion shaft – not the spring wire. Lubricating the coils can attract grit and shorten spring life.
- Adjusting opener force limits without testing. Turning up force to get a sticky door to close defeats the auto-reverse safety feature. Fix the sticking door, don’t override the safety.
- Skipping the monthly auto-reverse test. It’s two minutes. A failed test caught early prevents a serious failure later, and it’s the single lowest-effort safety habit on the whole door.
- Assuming a heavy door just needs a new opener. A heavy door usually means a spring losing tension. Replacing the opener first overworks a healthy motor and masks the real problem.
See the difference
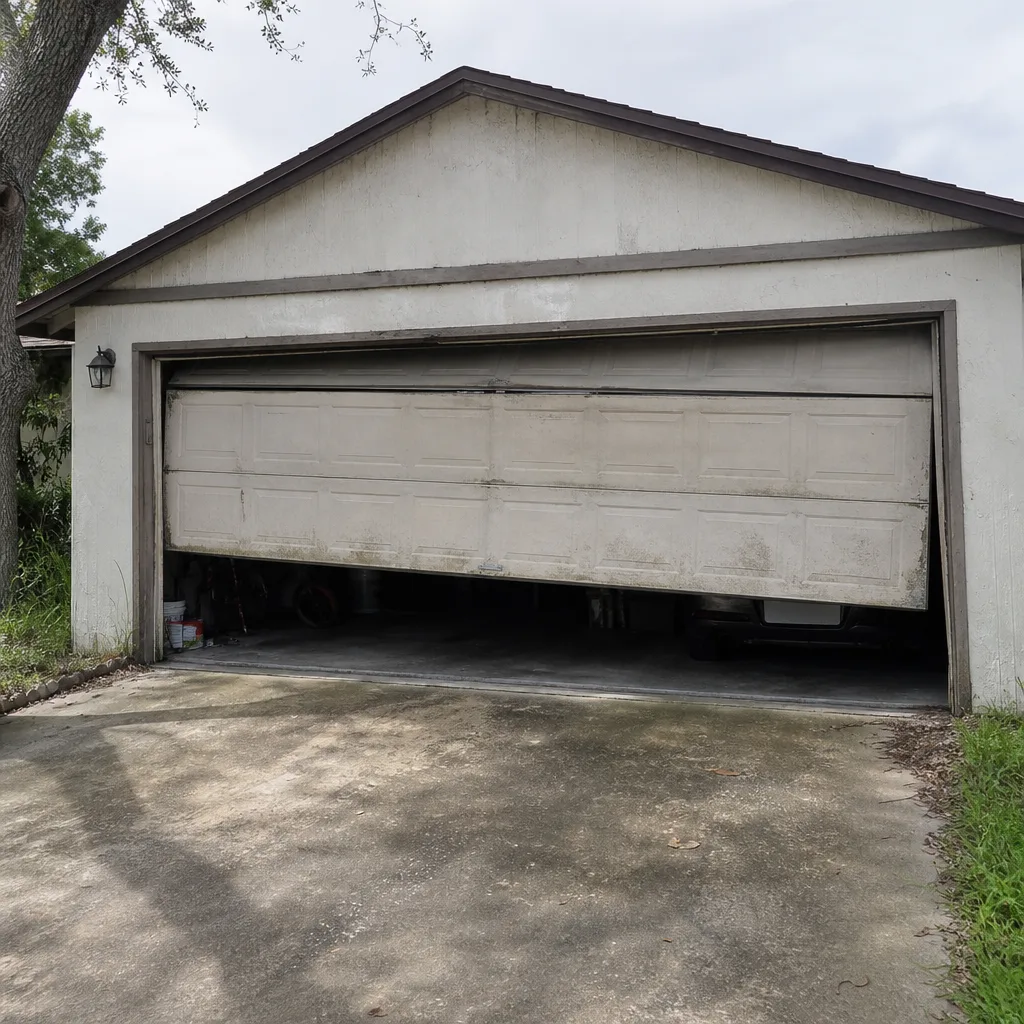 Before
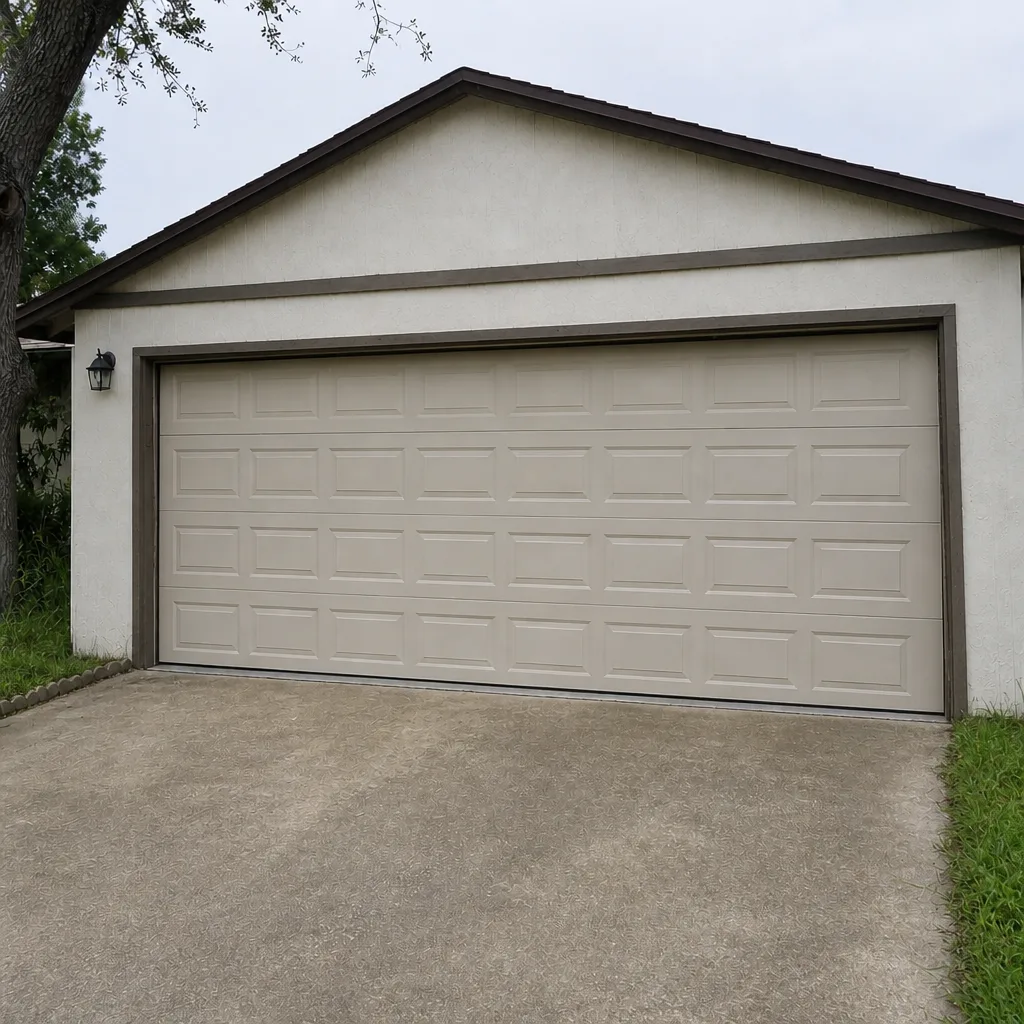 After
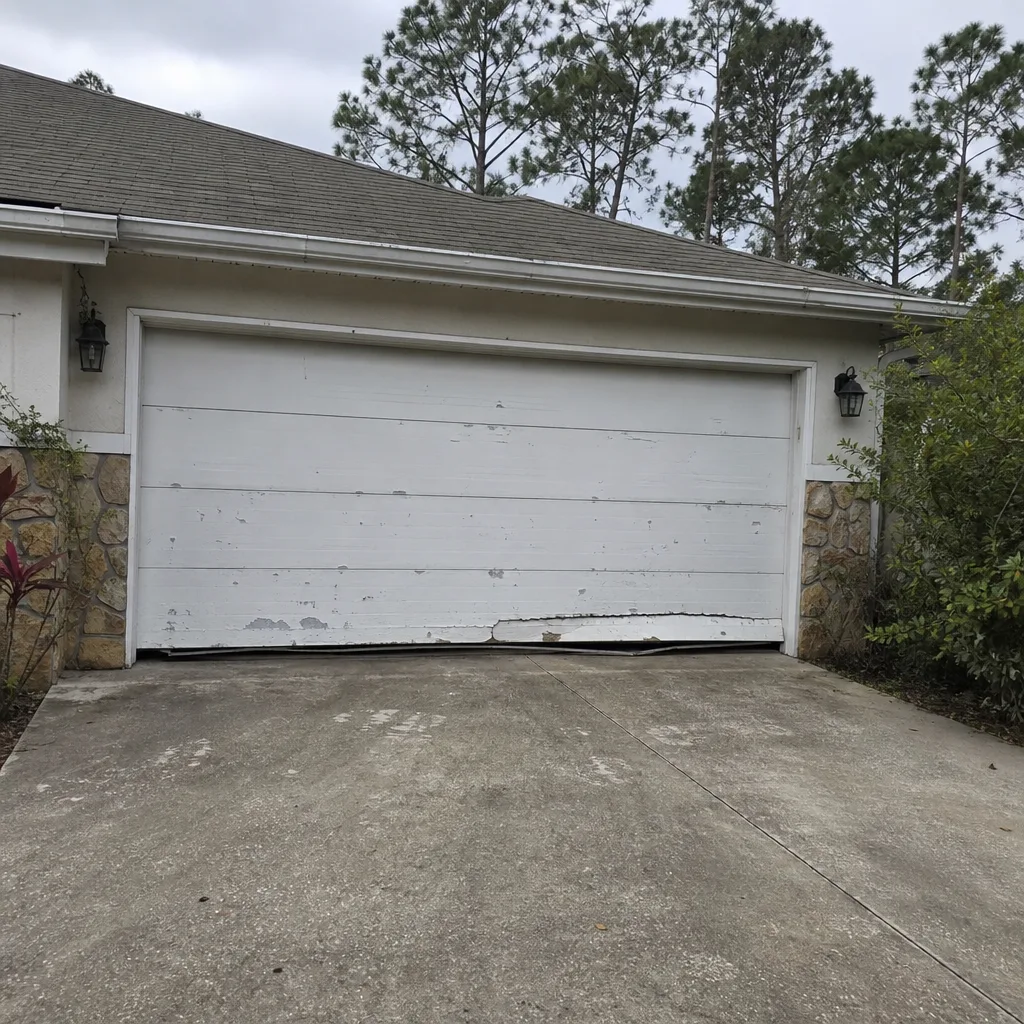 Before
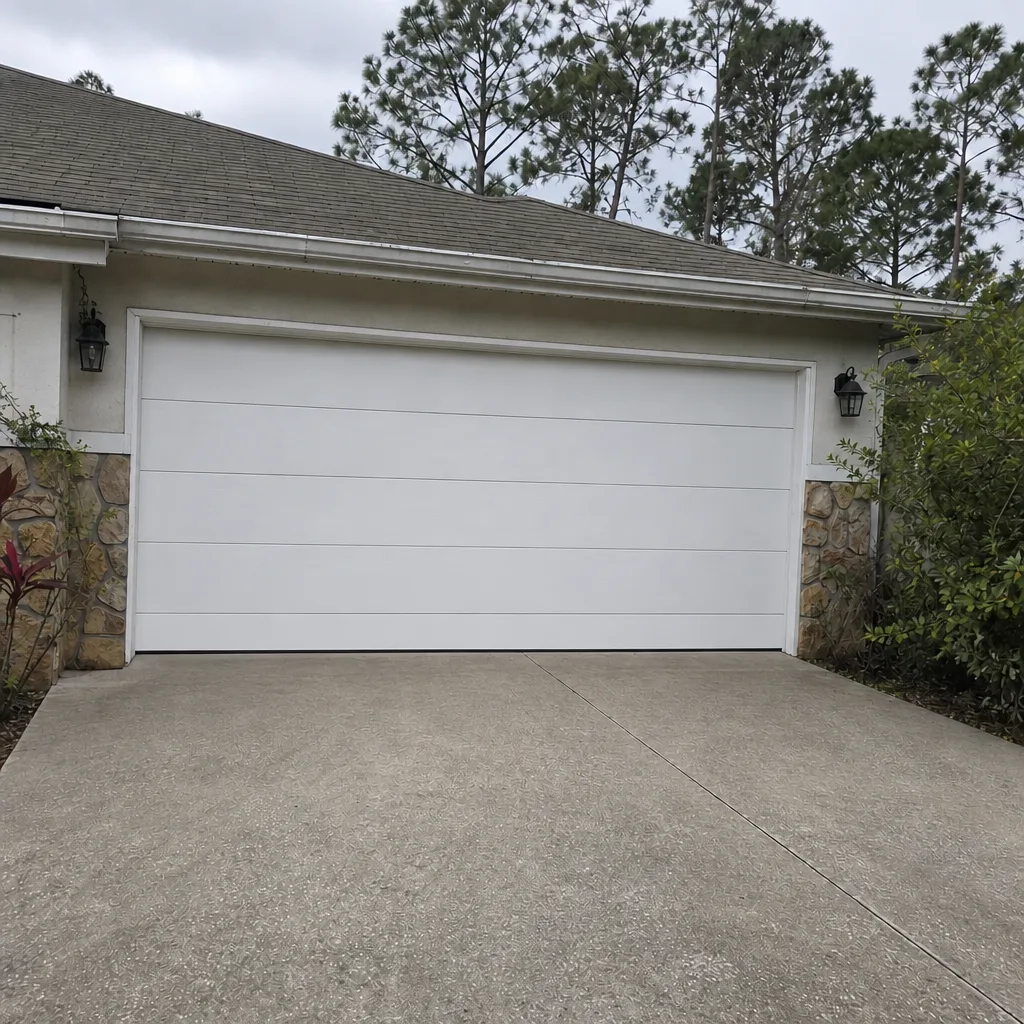 After
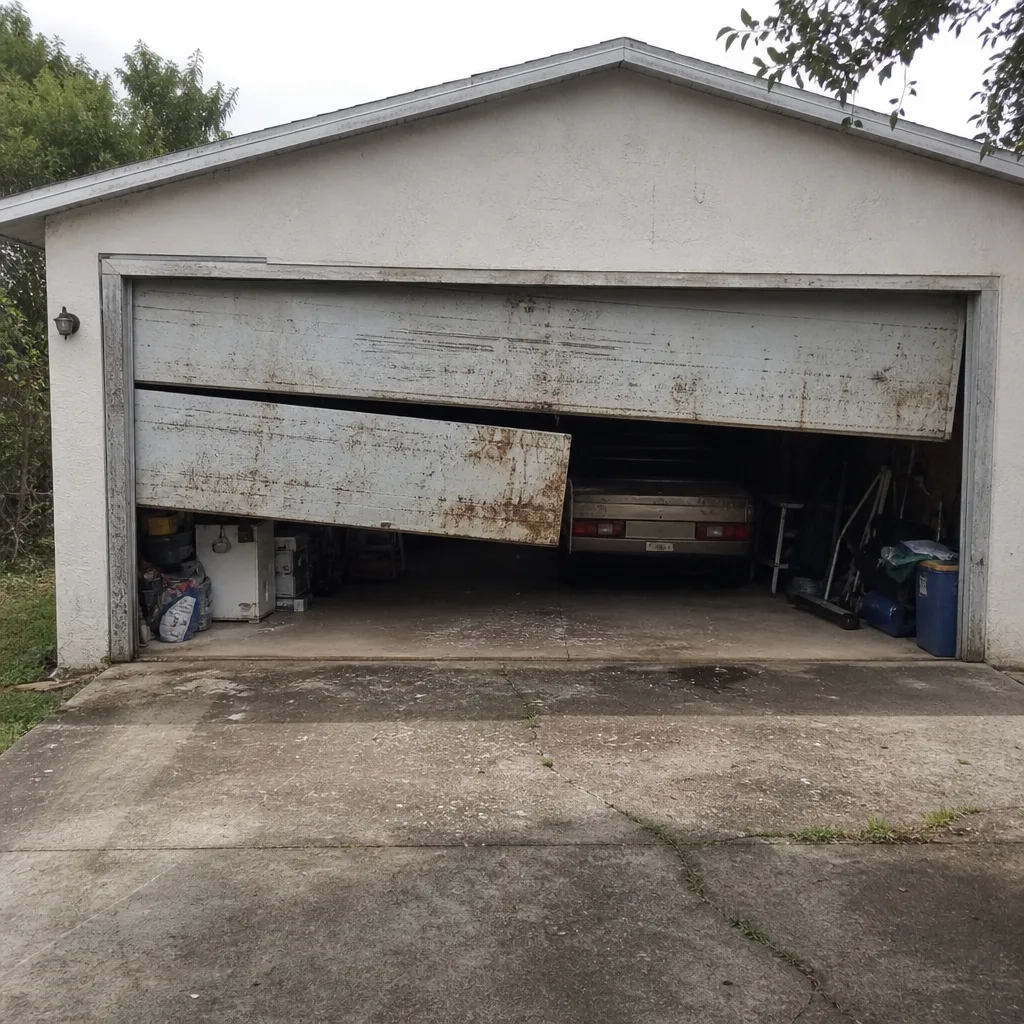 Before
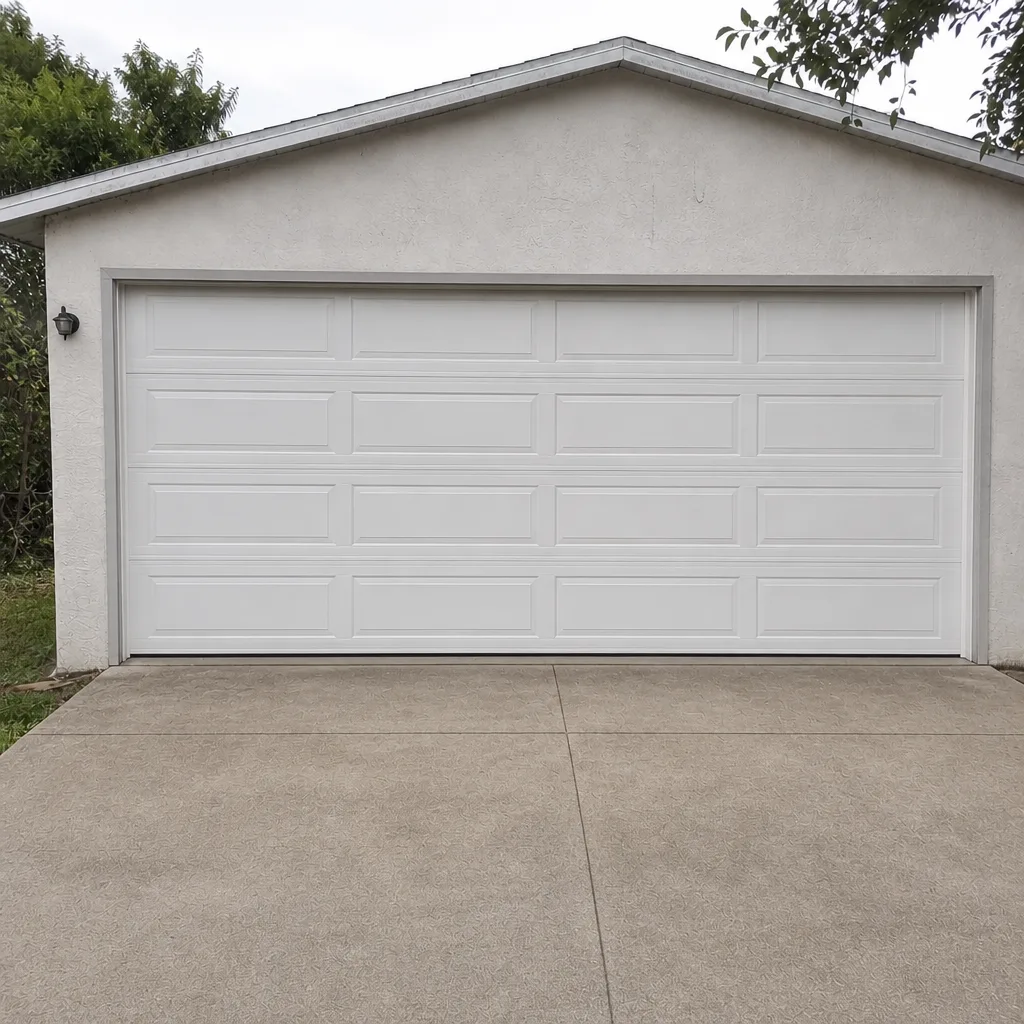 After
When to Call a Professional
Call a professional the moment the job touches a spring, a cable, a cable drum, the bottom brackets, a permit, or an opener circuit board. Also call if the door has become noticeably heavier, if it binds or racks to one side, if you hear a loud bang from the garage, or if the auto-reverse test fails and adjusting the force setting doesn’t fix it. Those symptoms point to stored-energy components or alignment issues where a DIY error can cause real injury or secondary damage. Arlington Garage Door Repair Co offers free estimates in Arlington – call (866) 937-7921. Our technicians have up to 13 years of experience, and we work on the brands already in your garage: LiftMaster, Chamberlain, Genie, Craftsman, Clopay, Amarr, Wayne Dalton, and Raynor.
Frequently Asked Questions
You shouldn’t. Torsion and extension springs store serious energy, and a mistake during winding or removal can cause serious injury and rack the door. It also typically voids both the spring warranty and, on LiftMaster and Chamberlain units, the opener warranty. Call (866) 937-7921 for a free estimate – the price is quoted and agreed before any work starts.
Weatherstripping, bottom seal replacement, lubrication, photo-eye cleaning and alignment, and minor track adjustments are all safe for most homeowners. These components don’t store energy or hold the door’s weight. Anything involving springs, cables, drums, bottom brackets, or opener circuit boards is a technician job.
It can. Manufacturers including LiftMaster and Chamberlain can attribute an opener failure to improper spring tension, and that’s enough to decline a claim. The spring and opener are treated as one system. Professional spring work keeps both warranties intact.
Most cities require a permit for a full door replacement, so check with Arlington’s building department before you buy. The door also needs the correct wind-load rating for the area. Installing a non-compliant door can create an uninsured liability if it fails in a storm.
Place a solid object about 1.5 inches tall in the center of the doorway, press the wall control to close the door, and check whether it reverses within about two seconds of contact and returns fully open. If it stalls or keeps pressing down, the force setting is too high. Run this monthly.
Usually yes. We diagnose the specific fault – board, sensor, wall control, or power – on the brand in your garage and repair first. That includes Genie, LiftMaster, Chamberlain, and Craftsman units. Replacing a working opener is almost never the right answer. Call (866) 937-7921 for a free estimate.
The Bottom Line
The DIY vs professional question isn’t binary. Handle the seals, weatherstripping, lubrication, and the monthly auto-reverse test yourself – those are genuinely safe, genuinely cost-saving tasks. Stop at anything holding the door’s weight or storing energy. Springs, cables, drum work, and opener circuit boards are where the injury risk and the warranty loss live, and a full replacement in Arlington carries a wind-load compliance requirement that makes DIY a liability. Know the line, and you’ll save money on the easy jobs and protect yourself on the hard ones. When in doubt, call us. We work on the brand already in your garage and diagnose before we quote.
Ready to stop guessing? Call Arlington Garage Door Repair Co at (866) 937-7921 for a free estimate on repair, spring work, opener repair, or a full installation. We’ll give you a written price before any work begins, and you’ll know exactly what your door needs.
Written by the team at Arlington Garage Door Repair Co.